How to create a goodbye Christmas letter for elf on the shelf, harry potter themed!
This post contains affiliate links. That means if you click on any links, sales made through such links will reward me with a small commission – at no extra cost to you. I only promote companies or products I personally use or believe in.
If you have kids then you probably know what elf on the shelf is! If you don’t know then head on over to my post for Elf On The Shelf Return Letter to find out about this crazy cute tradition for your kids! There I explained all about Elf On The Shelf and I gave you a cute idea on how to make your Christmas elf on the shelf letter really stand out to your harry potter fan children! Today I am stemming off of that post to create the Elf On The Shelf Goodbye Letter.
Why is there an Elf On The Shelf Goodbye Letter?
We in order for your elf to seem real he/she must go back “home” until next Christmas. The point of the elf on the shelf is to help you get your children to behave a little better around the holiday season. Your designated elf is supposed to be there to watch over your children but if you do a goodbye letter your elf can state that although he/she may not physically be with your kids, he/she is watching over them from the north pole.
When should I put my elf on the shelf goodbye letter out?
My sister always has the goodbye letter out for the morning of December 25th. At that point, with the Christmas day excitement of presents, it is good to allow your kids to say goodbye before opening gifts this way they won’t be too sad. Always remember the letter should say they will be back next year.
How to make the elf on the shelf goodbye letter
First, you need to write your letter. You have two choices for the wording, you can google “elf on the shelf goodbye letter” and just copy and paste then add their names and their elf’s name, or write it yourself. I always prefer to write it myself because you can personalize it more. Obviously, I went super personalized this year but if you aren’t trying to do a harry potter theme then you can just copy and paste. Also, my sister surprised them with another Elf this year (no I didn’t know until after my return letter).
Mine reads
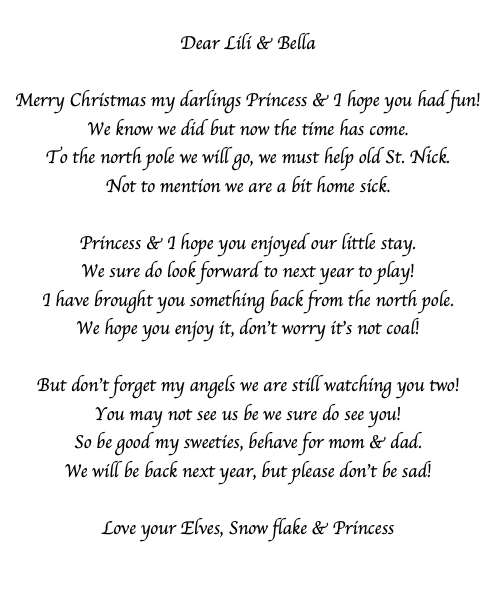
Once you have your letter written or copied you can use Canva or even Microsoft word to create the printout portion of the letter. Again I did the harry potter theme and built my entire design off of this. You can do a simple Christmas background or Christmas colors if you aren’t doing a harry potter theme.
I like to make elf on the shelf goodbye letters smaller than the return one so I used 5×7 invitation paper, then I cut 2 larger pieces of cardstock so there is a pretty sparkly border around the letter, but before we can paste onto a pretty cardstock you must find or make a nice background. The way you can do this is to have a simple background which you can find on google or Canva. I used my design software to make the 5×7 background, I believe it would be tough to specify the size on word so I highly recommend using Canva for this. Word different so I use Canva or other design software.
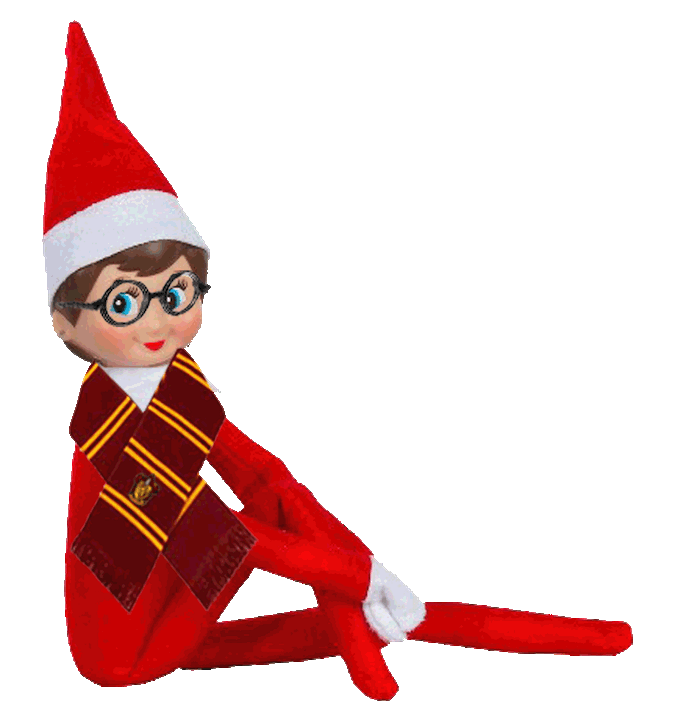
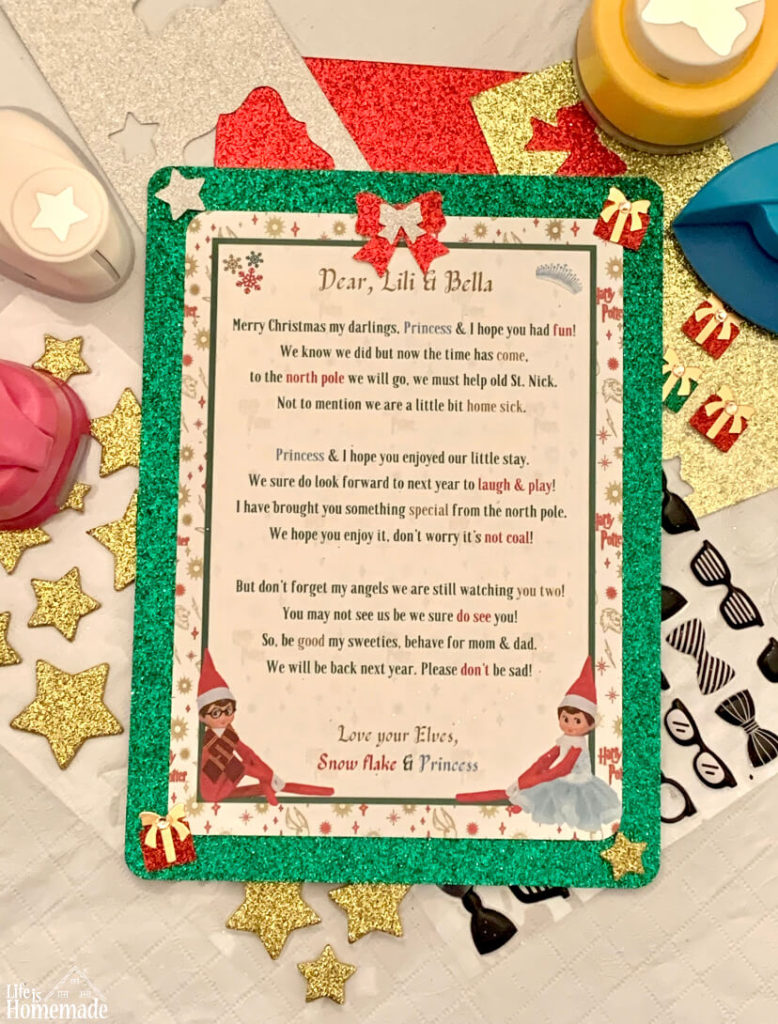
When you have your background ready you can now add your text. Copy and paste your text into the Canva design and choose your favorite Christmas fonts! If you want to add an elf you can get one from google and insert it. I also found snowflakes and added those to the corner and found a cute tiara to symbolize princess and added that to the opposite corner of the snowflakes. If you are wondering about the Snowflake elf and how she has harry potter attire I added that myself using design software but if you want her I have left her below. Since my sister surprised the girls with another elf I have also added their new elf Princess, she is also not one you can find on google only here because I had to make that outfit for her, I have also dropped her below.
Setting your elf on the shelf goodbye letter on to cardstock.
Do you have your printout ready? Great now grab some pretty Christmas cardstock and a paper cutter and let’s get decorating!
For this Christmas letter, I used two pieces of 8.5×11 glittery cardstock, one green for the front and one red for the back. I chose red for the back to really emphasize Gryffindor. I did have to cut both pieces so they fit behind the 5×7 properly. Using my paper cutter I cut the two pieces of cardstock to 8×5&7/8. I turned them each over and marked on the back (non-glittery side) how small I wanted to cut and then cut them.
Since I cut the cardstock to fit the letter I don’t need to cut the letter at all. Once my cardstock was cut to my liking I then used a corner punch on the letter, I prefer the rounded corners but you can leave them alone if you don’t want to round them or decorate. Next, choose what color cardstock you want to use and you can either use clear glue or zots to adhere the letter to the cardstock. If you have any fun corner punches you can punch the corners of the cardstock if not no worries you can decorate them! Since the goodbye letter is smaller I decided to not go too crazy with decorating. The back needs a little decorating before we adhere it to the front piece so let’s get to that.
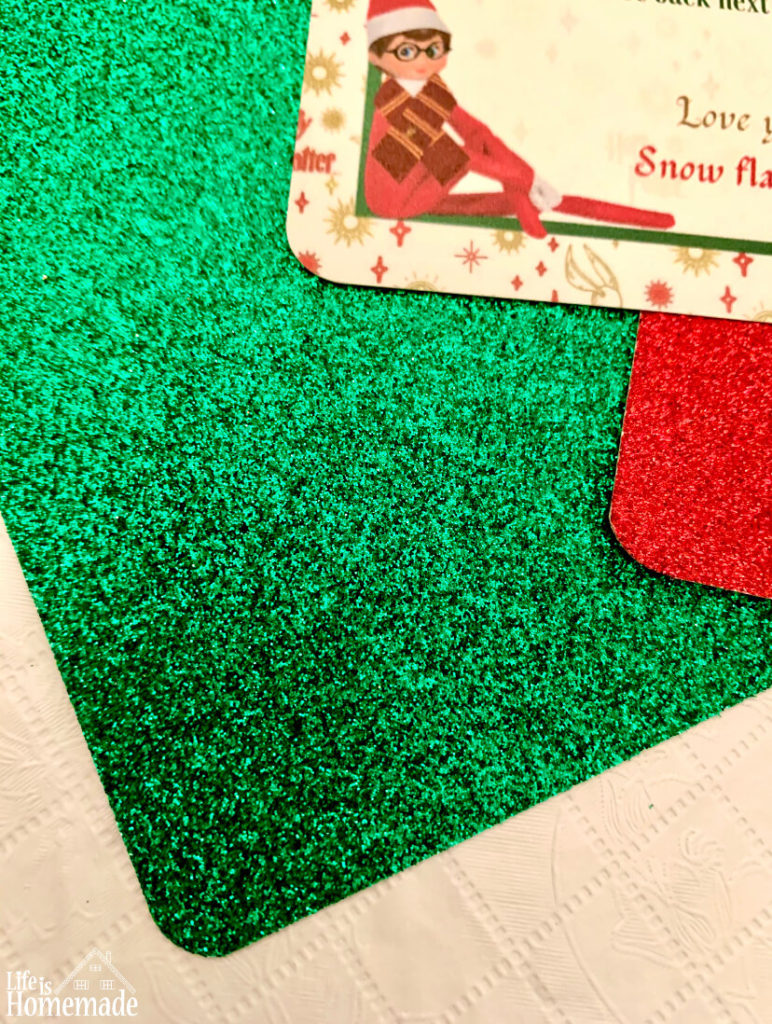
How to decorate elf on the shelf goodbye letter for a harry potter theme.
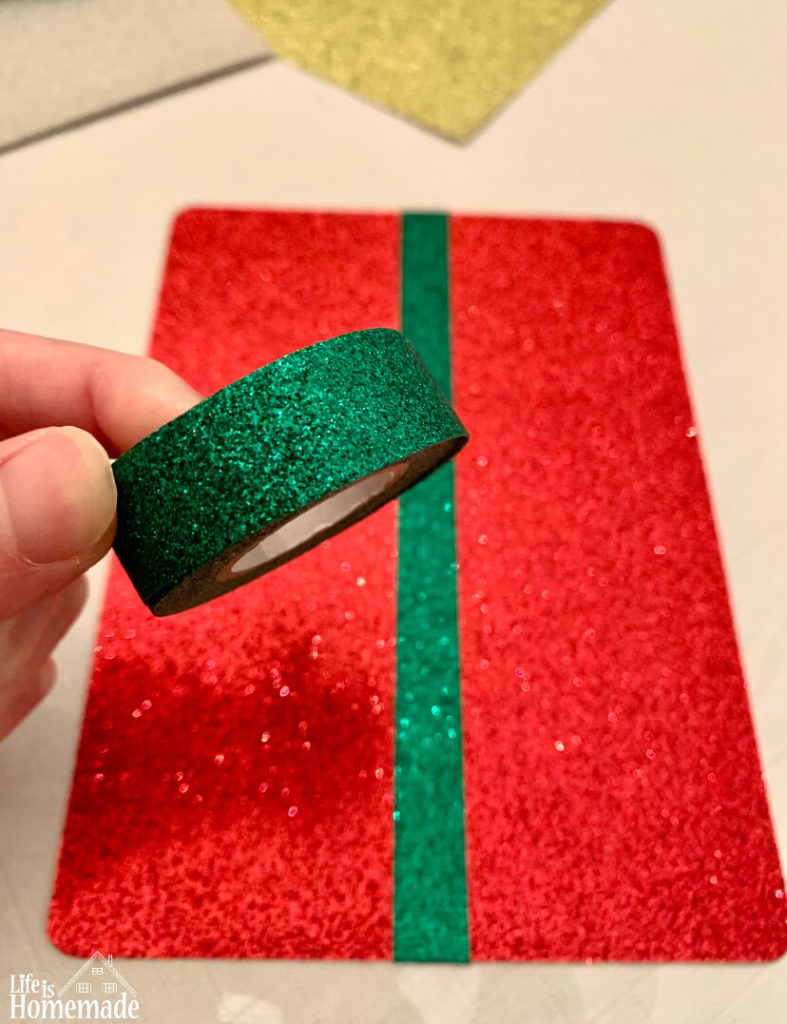
I started getting my idea ready for the back before decorating the front. The back has more space to decorate so I wanted to make sure I put more attention there. For the goodbye letter, I didn’t want to make it exactly like the return letter so I took ideas from the return letter but left others out. I decided to make the back look sort of like a gift and I found this really pretty glitter washi tape that matched the green glitter cardstock perfectly. I cut two strips of the washi tape for the back making one of them 8.5 inches long, which I adhered from top to bottom in the center folding the excess to the back, then I cut another strip about 6.75 inches from side to side in the center, again folding the extra to the back. Once I was happy with the green washi tape was laid, I made sure it was adhered well before using zdots to put the front and back together. Make sure you have them facing the right way and then add the other piece backside down onto the first one. Make sure it’s as even as you can get it.
Now the fun part! Since I already had the harry potter stickers from the return letter I had a really cute Gryffindor crest from the pack and there were two of them, I wound up using one on the return letter. I decided to use the second one on the back of the goodbye letter because it is perfect for the center of the design on the back of this small elf on the shelf goodbye letter! I used the crest in the center but you can decorate however you want. I had other items leftover from the return letter but to make it a little more girly for princess I added silver with the gold stars and bow punch outs. Since I mentioned they are getting a gift from their elves I thought it was cute to add a bunch of presents to it. I used this bracket square punch and then I cut some of a red washi tape I had to make that look like ribbon and I finished the “present” off with a mini gold bow using a mini bow punch! I also added some extra stickers from the harry potter packet and used this one last set of glasses from the glasses stickers I had from the return letter. The glasses don’t stick on so great so you will need to add some glue or zots. For the front, I decided to make a pretty red bow using a medium bow punch and then added a mini silver bow on top of the red one then adhered the two together and adhering them to the letter.
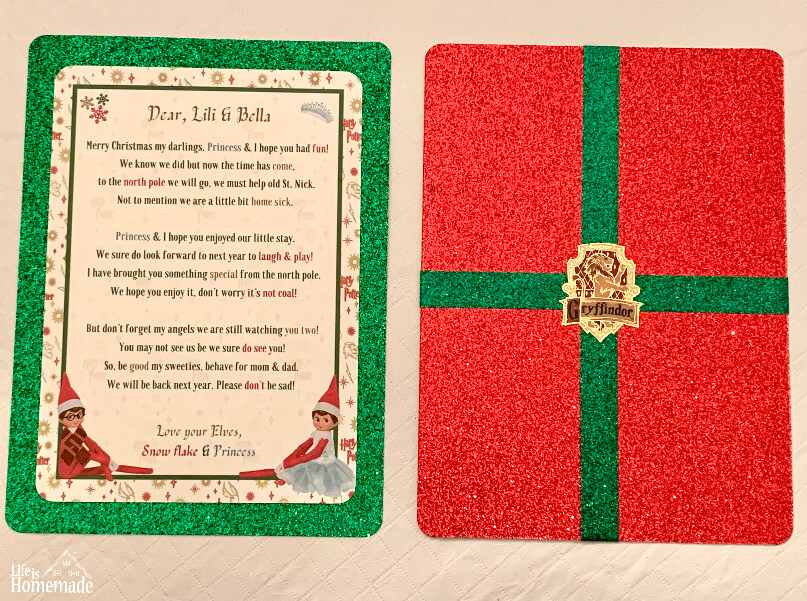
I hope this post has inspired you to do your own elf on the shelf goodbye letter! I will be taking a little break for Christmas week, Merry Christmas and Happy Holidays

Hey there! I’m the owner & author of Life Is Homemade (the blog), as well as Mad About Madeleines. I hope you enjoyed some of the delicious recipes, how-to’s, DIYs, & product reviews I blogged about. Thank you for your previous support I hope you stick around on my new journey with Mad About Madeleines.


